Add Object to Create a Virtual Home Staging
How to add 3D objects and furniture to an image and create a hyper-realistic virtual home staging.
What is the "Add Object" tool for?
With the "Add Object" tool, you can place furniture, plants, objects, and more in your image.
The great thing about this tool is that you can choose where to place the objects, their size, and orientation.
Once you have placed the objects, you can click on the generate option. This will create a highly realistic image of your design.
Step 1 – Add Objects
Click on the object you want to add. By clicking, the object will automatically be added to the image.
If you want to remove the objects you have added, use the "Remove Objects" button to take them out of the image.
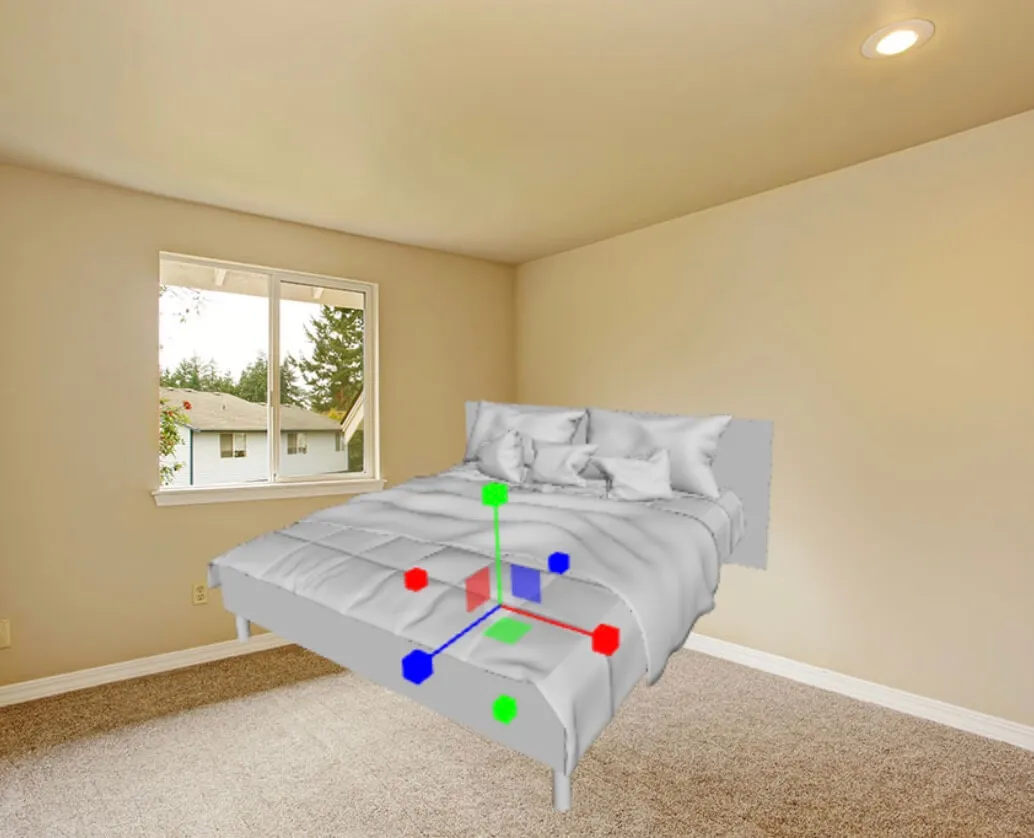
Step 2 – Edit Position, Orientation, and Size of the Objects
Now that you have added the objects to the image, you need to place them in the correct position, orientation, and size.
We recommend that you place an object in the correct position, size, and orientation before adding another object to the image.
Change Position of the Objects
Use the green, yellow, and red arrows to move the object. Remember that you are working in 3 dimensions, so you can move the object through space.
You can also click on the yellow rectangle in the middle of the object to drag it through space.
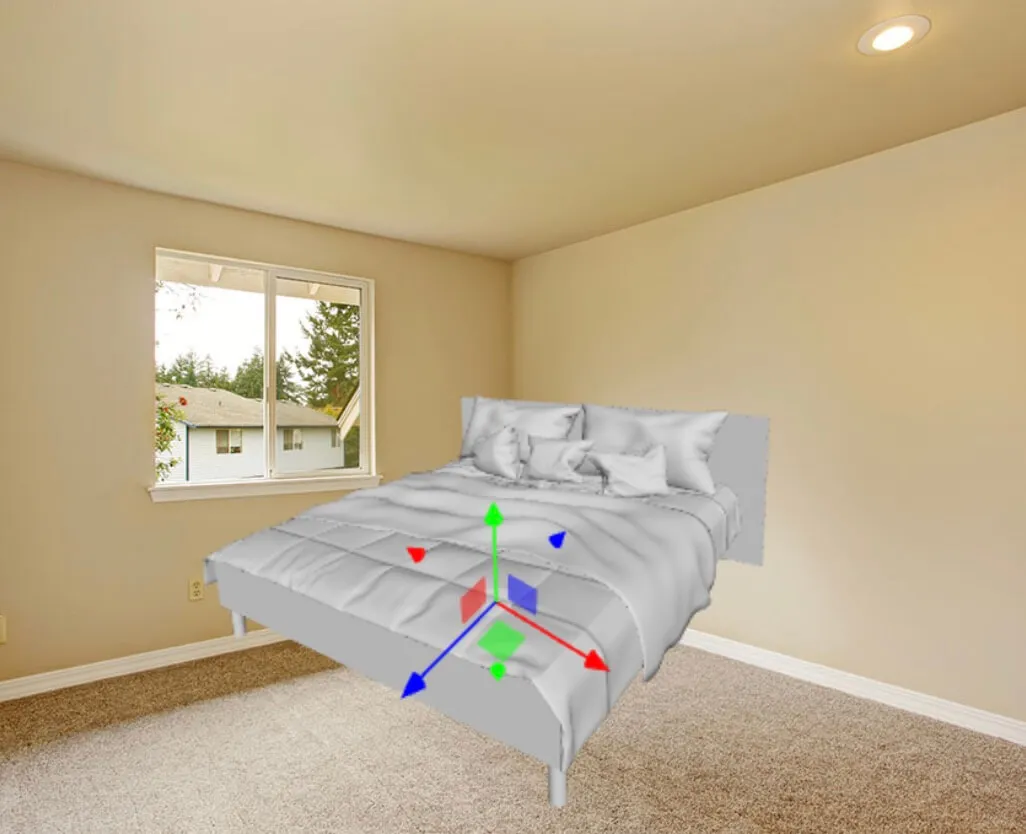
Rotate Objects
Use the green, yellow, and red spheres to rotate the object.

Change Size of the Objects
Use the green, yellow, and red lines to change the size of the object.
Step 3 – Generate Image
Once you have placed the objects, click on generate image. A hyper-realistic representation of the space will be created.
If you have any questions, contact me by email at felix@pedra.so