How to Take Real Estate Photos That Sell Homes Fast
Learn how to take real estate photos with our guide. Discover expert tips on staging, camera settings, lighting, and editing for professional results.
Getting the hang of real estate photography really comes down to three things: preparing the space, nailing your lighting and camera settings, and framing shots that tell a story. Get these right, and you’ll create listings that don't just sit there—they make buyers feel an urgent need to see the property in person.
Why Great Real Estate Photos Matter More Than Ever
In today's crowded market, your online listing is the first open house. Before anyone even thinks about scheduling a showing, they're swiping through photos on their phone, making split-second decisions about whether your property is worth a look. That's why your photos aren't just a nice-to-have; they're your single most powerful sales tool.
Think of it like a book cover. If it's blurry, dark, or just plain boring, no one’s going to open it to read the story. Your photos create that critical first impression and set the stage for everything that follows.
The Psychology of a Powerful Listing Photo
The best listing photos do more than just show a room's dimensions. They sell a lifestyle. They help potential buyers picture themselves cooking in that kitchen, relaxing in that living room, or waking up in that bedroom. This is where your prep work and shooting technique really pay off. The goal is to make the home feel both aspirational and completely achievable.
What makes an image connect with a buyer? It usually comes down to these elements:
- Thoughtful Staging: A clean, decluttered, and well-arranged room instantly feels bigger, more welcoming, and full of potential.
- Crisp, Clear Quality: Sharp, professional photos send a clear message: this property is well-cared-for and the sellers are serious.
- Natural Light: Bright, airy shots just feel good. They create a sense of warmth and positivity, turning a house into a home.
When you bring these three things together, you stop the scroll. You give buyers a reason to slow down and spend more time with your listing.
Great real estate photography isn't just about documenting rooms; it's about telling a visual story that makes a house feel like a home. It’s the single most effective way to make a buyer fall in love before they even schedule a tour.
The Impact of Modern Visuals
Buyers today expect more than a few static images. Immersive media has changed the game, and the data backs it up. High-quality visuals lead directly to more clicks, more engagement, and faster sales.
For example, listings with virtual tours can pull in up to 90% more buyers and generate 87% more views. It’s not a fringe benefit anymore; it’s a standard. In fact, about 82% of real estate agencies now use drone photography to capture stunning aerial views. If you're curious about the numbers, you can explore more key real estate photography statistics at PhotoUp.net. It all proves one thing: a strong visual strategy isn't just a good idea—it's essential to compete.
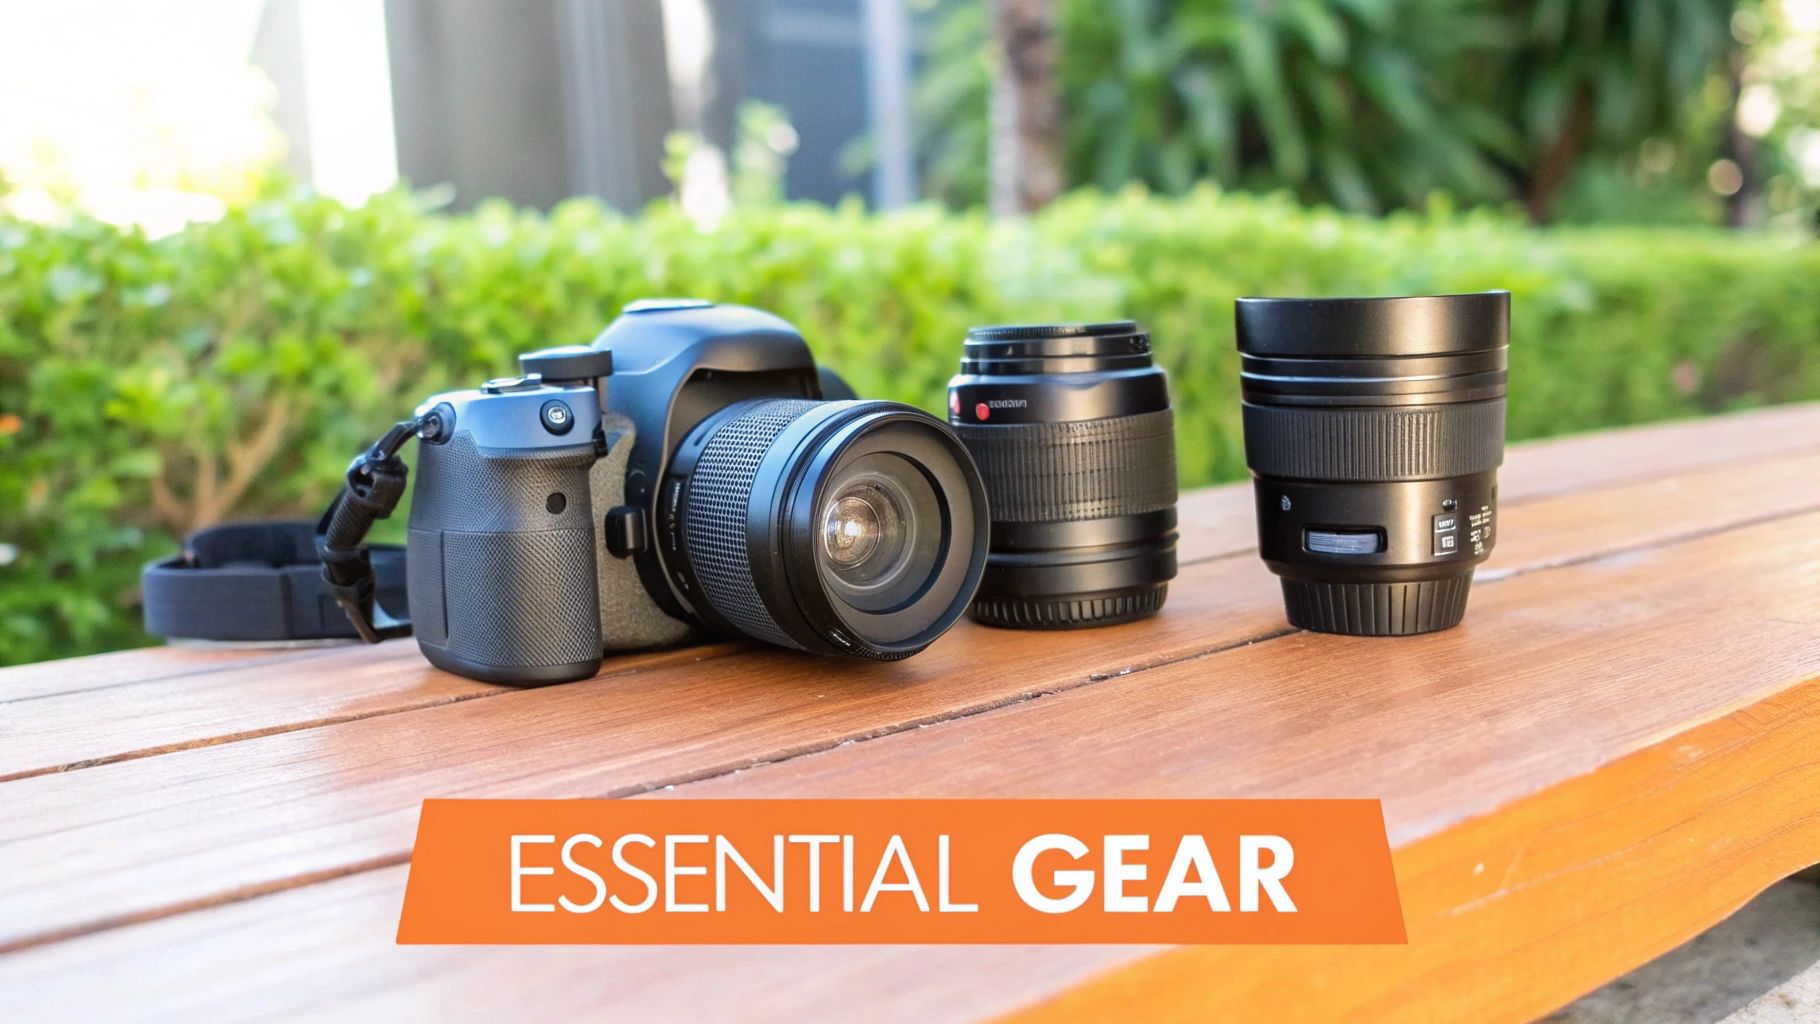
Having the right gear is a big piece of the puzzle. Here’s a breakdown of what you'll need to get started and to take your photos to the next level.
Essential Gear for Real Estate Photography
| Equipment Type | What to Look For | Why It's Important |
|---|---|---|
| DSLR/Mirrorless Camera | Full-frame sensor, manual mode, ability to shoot in RAW. | Gives you maximum control over settings and captures the highest quality image data for editing. |
| Wide-Angle Lens | A focal length between 16mm and 24mm on a full-frame camera. | Captures the entire room without distorting the space, making it feel open and spacious. |
| Sturdy Tripod | Lightweight but stable, with an easy-to-adjust head. | Prevents camera shake for crisp, sharp images, especially when bracketing shots for HDR. |
| External Flash/Strobe | A speedlight or off-camera flash with wireless triggers. | Allows you to fill in dark shadows and create balanced, natural-looking light throughout the home. |
| Remote Shutter Release | Can be wired or wireless. | Lets you take a picture without touching the camera, eliminating any chance of vibration or blur. |
This gear forms the foundation of professional real estate photography. While you can start with a basic camera and tripod, adding a wide-angle lens and external flash will dramatically improve the quality of your images.
Preparing and Staging for Picture-Perfect Shots
Here's a secret every seasoned real estate photographer knows: the best shots are captured long before the camera even comes out of the bag. The prep work you do to stage a home is what separates a good photo from a great one. You’re not just taking pictures of a house; you're creating a canvas that lets buyers dream.
The whole point is to make a space feel clean, inviting, and bigger than it is. It's less about erasing the home's personality and more about toning it down, so buyers can easily picture their own lives unfolding there. A properly staged room doesn't just look better on camera—it feels better to a potential buyer.
The Foundation: Decluttering and Depersonalizing
Before you even think about moving furniture, your first job is to declutter. This isn't just a quick tidy-up. It's a strategic removal of stuff to create breathing room and a sense of calm. There’s a reason for this: a study from the National Association of Realtors found that 82% of buyers' agents believe staging helps buyers see themselves in a home.
Start with the flat surfaces. Clear off the kitchen counters, the coffee table, nightstands, and bathroom vanities. Take down the refrigerator magnets, the family photos, and that pile of mail that always seems to appear. You’re aiming for clean lines and open spaces that make rooms feel bright and airy.
Next comes depersonalizing, which is just as important. Buyers need to see the house, not the life of the person selling it. This means you’ll want to pack away:
- Family portraits and kids' crayon masterpieces.
- Niche collections or very specific memorabilia.
- Anything personalized, like monogrammed towels or bathrobes.
Creating this neutral space is your invitation for buyers to mentally move in, which is how they start to form an emotional bond with the property. We get into more detail on this in our guide on essential home staging tips that can help sell a property faster.
A cluttered room looks small and chaotic in a photo. A clean, depersonalized room looks like a space full of potential. That difference is what gets a listing a showing instead of just a passing glance.
A Room-by-Room Staging Strategy
Once the clutter is gone, it's time to arrange each room to show off its best assets. Don't worry, this isn't a full-on interior design project. It's about making smart tweaks that improve the flow and feel for the camera lens.
Living Room: Pull the couches and chairs away from the walls to form conversational areas. It’s a simple trick, but it instantly makes a room feel more spacious and sociable. Make sure there are clear, walkable paths to show how easily someone can move through the space.
Kitchen: Clean countertops are absolutely critical. Leave out just one or two nice things, like a bowl of fresh lemons or a sleek coffee maker. The trash can, dish soap, and sponges? Hide them. You want to show off every inch of that counter space.
Bedrooms: The bed needs to be made perfectly. Use crisp, neutral bedding—a white or light gray comforter is always a winner. Nightstands should be clear except for a lamp and maybe a single book.
Bathrooms: Think "spa day." All personal toiletries need to disappear. Hang up fresh, new-looking towels in a neutral color. A sparkling faucet and a spotless mirror are non-negotiable. For a finishing touch, add a small plant or a new bar of soap.
Don't Forget Curb Appeal and Exterior Shots
Your work doesn't stop at the threshold. The exterior shot is often the very first impression a buyer gets, so it has to be strong.
Start with the basics: mow the lawn, trim back any wild bushes, and rake up any leaves or debris. Roll up and hide garden hoses, and move trash cans and kids' toys out of sight. A few potted plants by the entrance can add a welcoming pop of color, and a fresh coat of paint on the front door often provides a fantastic return for a minimal investment.
Thinking about twilight shots? Exploring some brilliant landscape lighting design ideas can completely transform a property's appeal after dark. Even for daytime photos, clean and modern exterior light fixtures send a clear signal that the home has been well cared for.
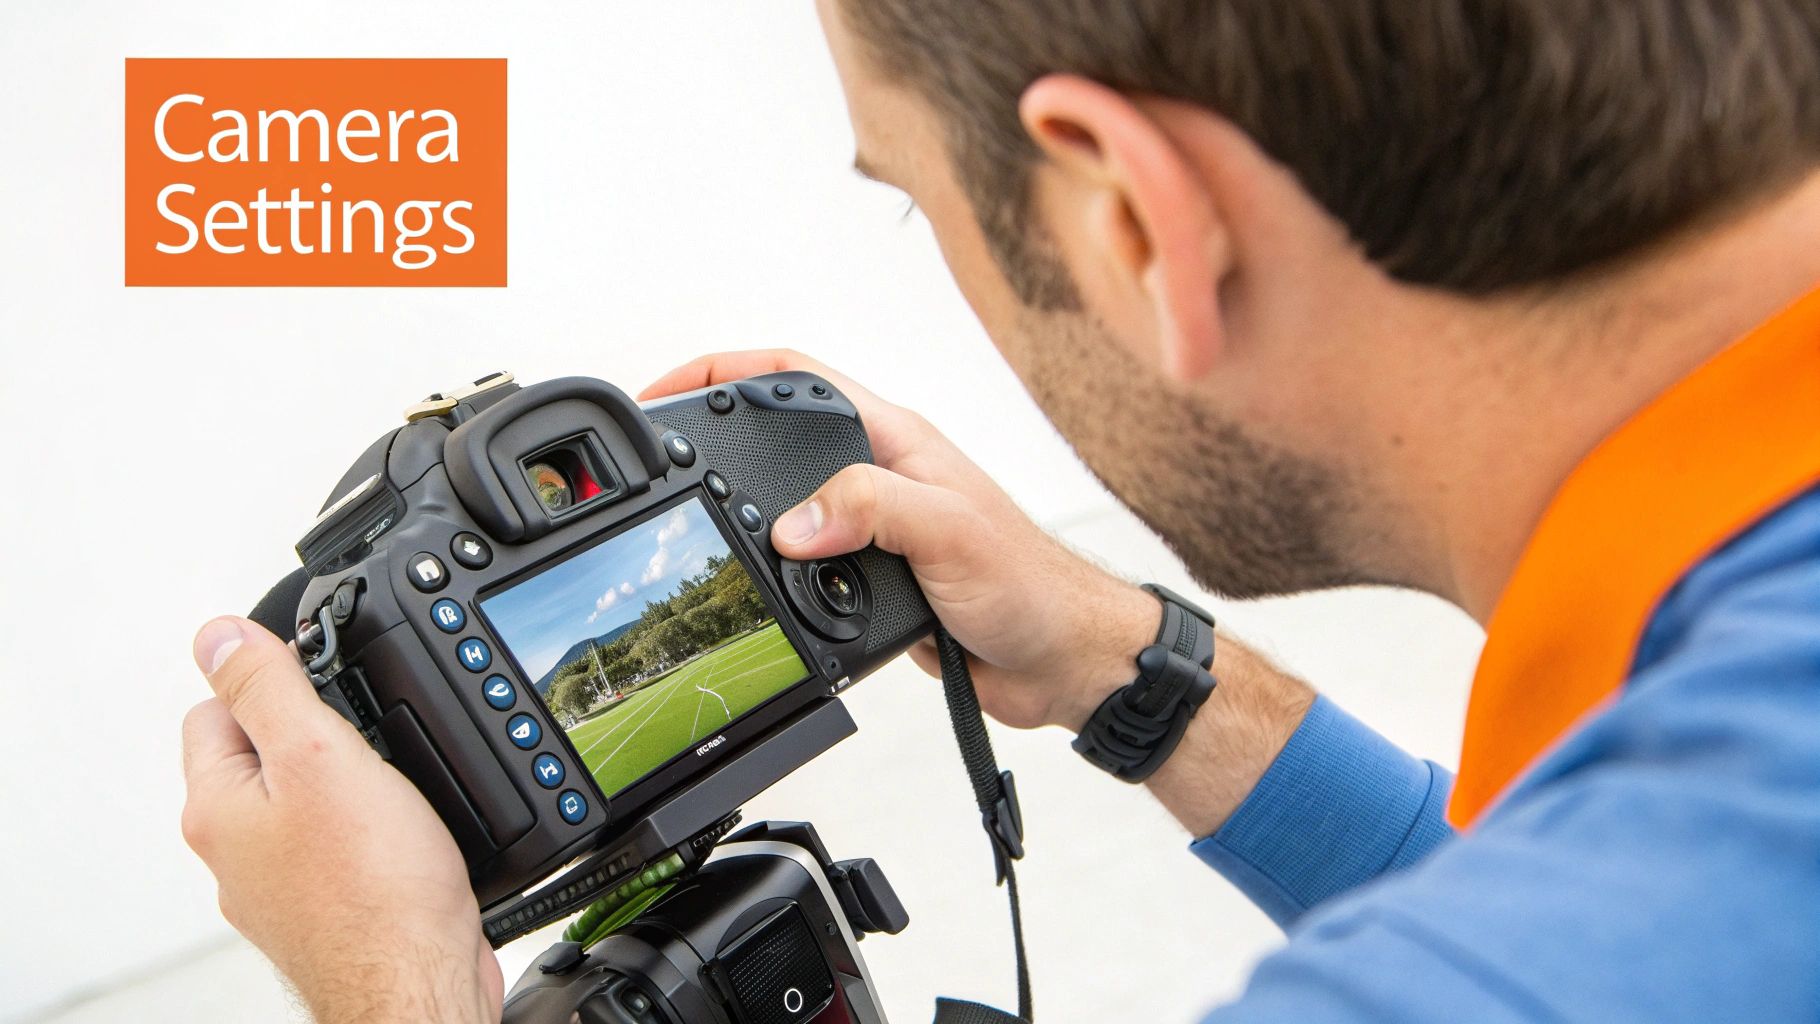
Nailing Your Camera Settings and Composition
Alright, the house is prepped and looking its best. Now it’s time to put that camera to work—and I mean really put it to work. We’re moving beyond "Auto" mode because this is where you, the photographer, take control. This is how you transform a nice room into a stunning photograph that stops scrollers in their tracks.
Getting the camera settings and composition right is what separates amateur shots from professional images. It's about telling the camera exactly what you want it to capture, ensuring every photo feels balanced, spacious, and inviting.
Dialing in the Perfect Shot
To get those crisp, bright, and professional-looking photos, you need to get three settings talking to each other: aperture, ISO, and shutter speed. I like to think of them as a team. If one isn't pulling its weight, the whole photo suffers.
Aperture (f-stop): Keep the Whole Room Sharp When shooting interiors, you need everything in focus, from the couch in the foreground to the art on the back wall. This calls for a deep depth of field.
- My Go-To Setting: I almost always live between f/8 and f/11. This is the sweet spot for maximum sharpness across the entire frame.
- Why it Works: A low f-stop (like f/2.8) gives you that blurry background, which is great for portraits but a dealbreaker for real estate. Buyers want to see every detail, and a high f-stop delivers.
ISO: Get a Clean, Noise-Free Image ISO is your camera's sensitivity to light. Pushing it too high in a dark room might seem like a good idea, but it introduces ugly digital grain or "noise." Since you're using a tripod (you are using a tripod, right?), you can keep this setting nice and low.
- My Go-To Setting: I stick to ISO 100 or 200 whenever possible.
- Why it Works: A low ISO gives you the cleanest, smoothest images. This is crucial for online listings, where potential buyers will zoom in to inspect the details. Grainy photos just scream unprofessional.
Shutter Speed: Let the Light In With your aperture set high and your ISO set low, your camera will need more time to gather light. This means your shutter will have to stay open longer. This is exactly why that tripod is non-negotiable—the slightest handshake will turn your photo into a blurry mess.
- My Go-To Setting: This one varies. Depending on the light, I could be at 1/60th of a second in a bright room or over a full second in a darker space.
- Why it Works: A slower shutter speed lets the camera's sensor soak up all the available light, producing a bright, beautifully exposed photo without compromising on quality.
My Favorite Trick: Always use your camera’s 2-second timer or a remote shutter. Just pressing the shutter button can cause a tiny vibration that ruins sharpness. This little habit ensures every single shot is tack-sharp.
Composing Photos That Sell
How you frame the shot is just as critical as your camera settings. Strong composition guides the eye, makes a space feel bigger, and highlights a home's best features.
First, get your height right. I set my tripod to about 4-5 feet, which is roughly chest height. This creates a natural perspective, making the viewer feel like they’re actually standing in the room. If you shoot too low, the furniture looks distorted. Too high, and the room feels strangely compressed.
Next, watch your lines. This is a big one. Vertical lines—wall edges, door frames, windows—must be perfectly straight. Even a slight tilt looks amateurish and can be jarring to look at. Use your camera's built-in grid or the bubble level on your tripod to get everything perfectly aligned.
Looking for more ways to create powerful frames? We dive into more complex scenarios in our other guide on advanced real estate photography tips.
This simple visual breaks down my thought process for composing a shot.
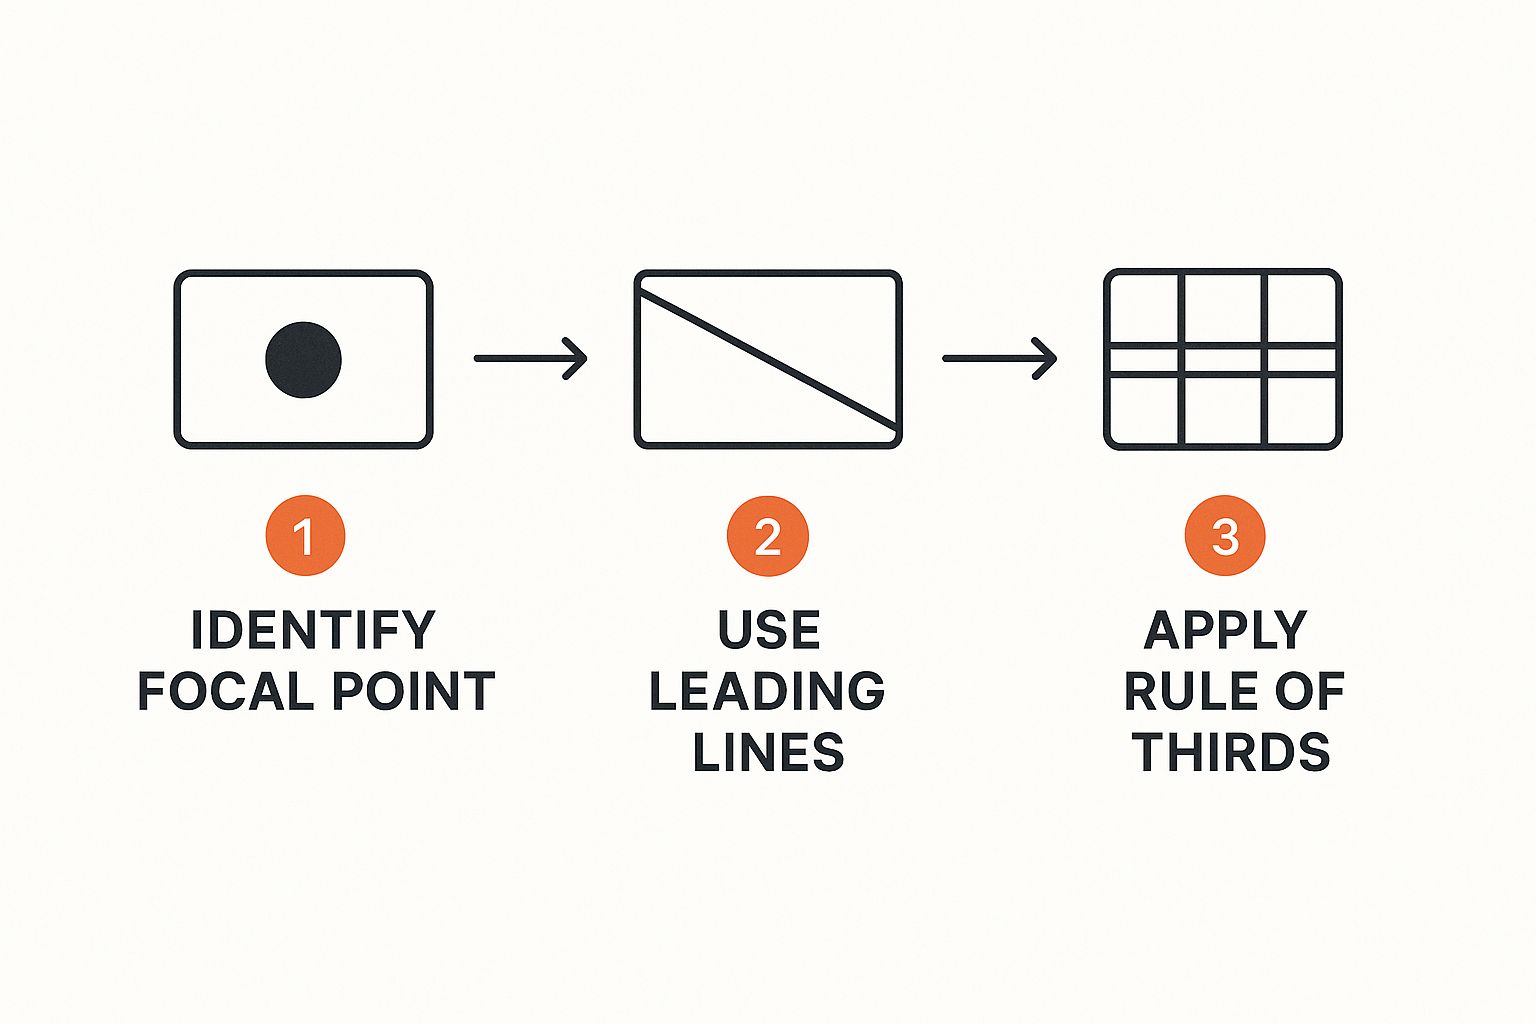
This flow—finding the hero feature, creating a visual path, and balancing the elements—is how you tell a compelling story with every photo.
Using Perspective to Create Depth
To give your photos a dynamic, three-dimensional feel, you need to master one- and two-point perspectives. These techniques are what make a room look spacious and engaging.
- One-Point Perspective: This is when you shoot straight at a single wall, often one with a clear focal point like a fireplace or a big window. It's a powerful way to create depth and draw the viewer's eye right where you want it.
- Two-Point Perspective: This is my go-to for most rooms. You stand in one corner and shoot towards the opposite corner. This technique captures two walls, making the room feel significantly larger and more open. It’s the best way to show off a room's true scale and layout.
When you pair the right camera settings with thoughtful composition, your photos do more than just document a space—they create an emotional connection. They make buyers feel like they’re already home.
Harnessing Light for Stunning Results
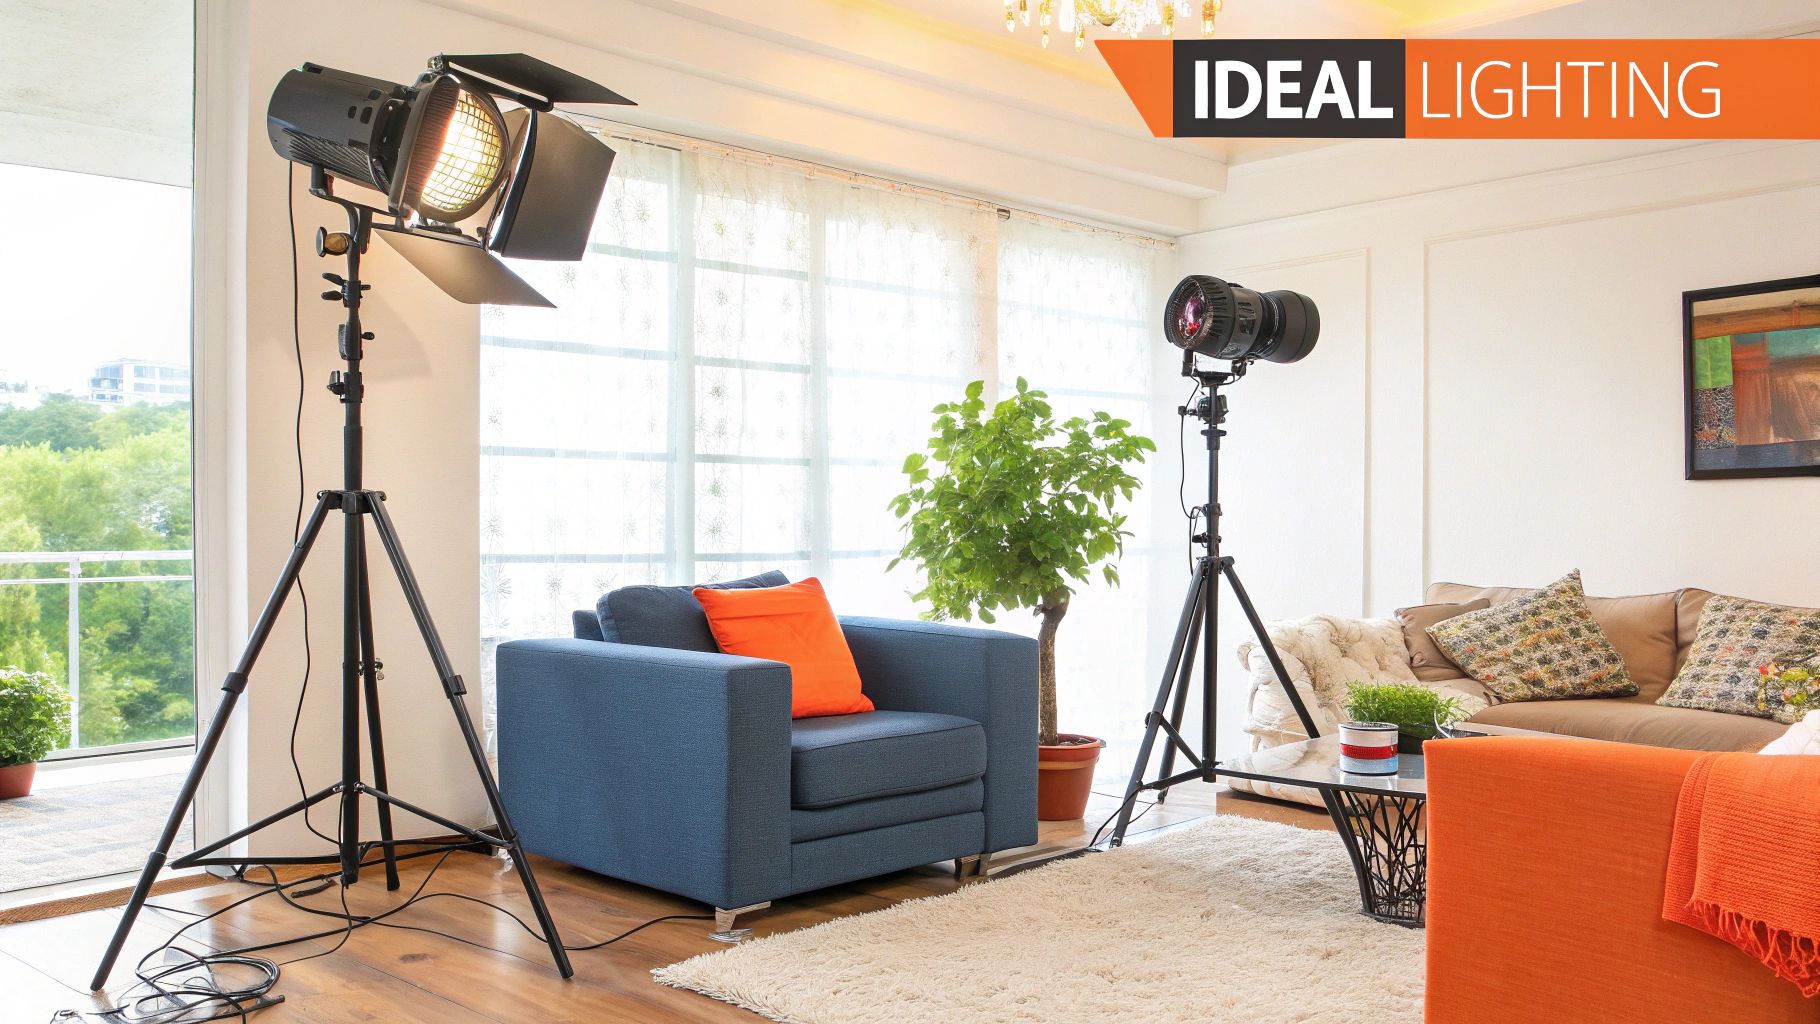
If there's one thing that separates a sterile snapshot from a vibrant, compelling real estate photo, it's light. Light is the lifeblood of our work. It’s what transforms a simple space into an emotional experience, inviting a potential buyer to imagine themselves living there.
Mastering light isn't just about making a room bright; it's about shaping it to create mood, depth, and clarity. Professional photos are no longer a bonus—they're the absolute baseline. With drone usage among agents now hitting 82%, the bar is constantly rising. To see just how much visuals drive the market, check out the latest stats from Matterport.com. It all begins with getting the light right.
Start with Natural Light
Your best friend on any shoot is the sun. Natural light is soft, flattering, and makes a home feel alive and welcoming, so your first job is to maximize it. Throw open every blind, pull back every curtain, and let that beautiful light pour in.
Of course, not all natural light is the same. The time of day completely changes its character and direction, and you have to plan your shoot accordingly.
- East-facing rooms: These are your morning shots. They get beautiful, direct light as the sun rises.
- West-facing rooms: Save these for the afternoon. You'll be rewarded with that warm, golden-hour glow.
- North-facing rooms: These are great anytime. They get soft, consistent, indirect light all day long.
- South-facing rooms: These get strong light for most of the day, which can be harsh. I find that shooting on a slightly overcast day works wonders to diffuse it.
If a property is naturally dark, there are many strategies to increase natural light that can make a huge difference in how spacious and inviting a room feels.
Balance Exposures with HDR Bracketing
Here’s a classic real estate photographer’s problem: a gorgeous room with a bright window view. Your camera simply can't capture both at once. Expose for the room, and the window becomes a blown-out white mess. Expose for the view, and the room turns into a dark cave.
This is where High Dynamic Range (HDR) bracketing saves the day. It’s a technique, not a simple filter. With your camera locked down on a tripod, you’ll take a series of photos of the exact same scene at different exposure settings.
- Take a dark shot to perfectly capture all the detail outside the window.
- Then, a medium shot that gets the room's general exposure right.
- Finally, a bright shot to pull all the information out of the darkest shadows.
Later, you'll merge these exposures in software like Adobe Lightroom or using an AI-powered tool like Pedra. The final result is one perfectly balanced image where the interior is beautifully lit and the view outside is crystal clear.
The Flambient Method for Vibrant Photos
For those who want ultimate control and photos that truly pop, the Flambient method is a go-to professional technique. The name itself tells you what it is: a blend of a flash exposure with an ambient light exposure.
First, you capture your ambient layer—a natural light shot that preserves the room’s authentic atmosphere. Then, without moving the camera, you take another shot using an off-camera flash. This flash layer cuts through any weird color casts from lightbulbs and adds incredible crispness and color accuracy.
By blending these two images in post-production, you get the best of both worlds. The result is a clean, polished photo that feels both natural and professionally lit. It takes some practice, but it's a game-changer.
Pro Tip: Never point your flash directly at what you're shooting. Bounce it. Aim the flash at a neutral-colored ceiling or a wall behind you. This turns the entire surface into a huge, soft light source that fills the room beautifully without creating those ugly, hard shadows.
Create Drama with Twilight Photography
Want a listing to stop people in their tracks? A twilight exterior is your secret weapon. These shots, taken during the "blue hour"—that fleeting 20-30 minute window right after sunset—are pure magic.
The trick is to turn on every single light inside and outside the house. The warm, inviting glow from the windows creates a stunning contrast against the deep, rich blue of the evening sky. It transforms a house into a luxurious, safe haven. More often than not, a single, jaw-dropping twilight photo is the hero image that gets the click.
Giving Your Photos That Final Polish
Taking a great picture is just the first step. The real magic happens in post-processing, where you turn a good shot into an irresistible one that makes buyers stop scrolling. This is what separates professional-looking listings from the rest.
Even if you nail your camera settings, every photo needs a little fine-tuning. For years, pros have relied on software like Adobe Lightroom to handle the fundamentals. It gives you the power to perfect the little details that make a photo feel right.
The Essential First Edits
Before you get into anything fancy, every single image should get a quick check-up. I always start with these three adjustments because they build the foundation for a clean, professional photo.
- Fixing the White Balance: Cameras can get confused by different light sources, sometimes making a room look too yellow or too blue. Correcting the white balance is crucial. It ensures the whites are actually white, which makes all the other colors in the room look natural and true-to-life.
- Correcting Lens Distortion: Those essential wide-angle lenses can sometimes make straight lines, like walls or door frames, appear curved. It's called barrel distortion. Luckily, most editing programs have built-in fixes that automatically straighten everything out with a single click.
- Adjusting Brightness and Contrast: A well-exposed photo can almost always be improved with a slight bump in brightness or contrast. This simple tweak makes the image pop, drawing a buyer's eye to the home's best features without looking fake or overdone.
Getting these basics right sets you up for success. But today, technology offers a much faster path to incredible results.
How AI is Changing the Editing Game
Let’s be honest, technology is completely reshaping how we market properties. Artificial intelligence is leading the charge, and savvy agents are jumping on board. In fact, an estimated 85% of real estate agents are now using AI-powered tools for tasks like replacing a gloomy sky or virtually staging an empty room. This means faster turnarounds and stunning visuals every time. For more on this, check out the latest real estate photography trends at PhotoUp.net.
This is where tools like Pedra really shine. Instead of spending hours on tedious manual edits, you can get even better results in a fraction of the time.
AI isn’t about making fake images. It’s about efficiently perfecting real ones. It handles the most time-consuming work, so you can focus on shooting great properties and serving your clients.
AI Features That Make a Real Difference
AI-powered editors can analyze your image and instantly apply complex adjustments that used to take serious skill and patience. The results are consistently professional.
Swap Out a Gray Sky Instantly Did you get stuck shooting on an overcast day? No worries. AI can take that dreary, gray sky and replace it with a bright, sunny blue one in a second. This one change can have a massive impact on a home's curb appeal, making your main listing photo so much more inviting.
Effortless HDR Blending Remember taking multiple bracketed shots to capture the details in both the dark corners and the bright windows? AI automates the blending. Just upload your bracketed images, and the software merges them into one perfectly balanced HDR photo where everything is clear. This saves a huge amount of time compared to doing it by hand.
Virtual Staging in a Click This might be the most powerful feature of all. An empty room feels cold and makes it tough for buyers to see themselves living there. With AI, you can furnish that space in seconds.
- Upload a photo of the empty room.
- Pick a style you like (modern, farmhouse, etc.).
- The AI fills the space with realistic furniture and decor.
This isn't just a time-saver—it's a massive money-saver. Virtual staging can be up to 97% cheaper than hauling in physical furniture, but it gives you the same "wow" factor that helps buyers fall in love with a home. If you want a service that handles all of this for you, it's worth exploring dedicated real estate photo editing services.
By adding these modern tools to your workflow, you can produce better photos, deliver them faster, and give your listings a serious edge over the competition.
Common Questions About Real Estate Photography
As you dive into the world of real estate photography, you'll find a few questions pop up over and over again. What gear do I really need? How many photos is too many? Getting solid answers to these questions from the start will save you a ton of headaches down the road.
This section tackles those common hurdles head-on. Think of it as a conversation with a seasoned pro, giving you the straight-up advice you need to shoot with confidence and avoid those classic rookie mistakes.
Can I Just Use My Smartphone?
It's a fair question, especially with how incredible phone cameras have become. But for truly professional results, a dedicated DSLR or mirrorless camera is still your best bet. The difference really comes down to two things: better image quality in tricky lighting and full manual control.
Having the ability to manually set your aperture is crucial for getting an entire room in sharp focus, which is a hallmark of professional real estate shots.
Dedicated cameras also shoot in RAW format. This captures a massive amount of image data, giving you far more wiggle room in post-processing to adjust brightness, fix colors, and recover details in shadows and highlights without degrading the image.
Now, if a smartphone is all you have, you can still get by. Just make sure you:
- Always use a tripod to keep your shots sharp and steady.
- Download a manual camera app to gain control over settings like ISO.
- Pay extra close attention to your lighting and composition since you'll have less flexibility in editing.
What Is the Biggest Mistake Beginners Make?
Hands down, the most common mistake I see from new photographers is crooked vertical lines. When walls, doorframes, and windows look like they're leaning, the photo immediately feels amateurish and can even be a bit jarring for potential buyers.
This almost always happens when you tilt the camera up or down. Your goal is simple: keep the camera perfectly level.
Set your tripod to about chest height. Use your camera’s built-in level or gridlines to ensure every line that should be straight, is straight. Nailing this in-camera will save you a world of pain during editing and instantly make your photos look more professional.
How Many Photos Should a Listing Have?
The sweet spot for most homes is between 25 and 35 photos. This gives you enough images to paint a complete picture of the property without overwhelming viewers with redundant shots. Remember, it's about quality, not quantity.
Your shot list should always prioritize the money shots—the spaces that sell the home. These typically include multiple angles of:
- The front exterior and the backyard
- The kitchen
- The main living room
- The primary bedroom and its bathroom
Once you've covered those essentials, grab one or two great photos of the other bedrooms, bathrooms, and any unique features like a home office, a deck, or a finished basement. 25 amazing photos will always outperform 50 mediocre ones. Your job is to tell the home's story, not just document every single corner.
Ready to create stunning, professionally edited real estate photos in minutes, not hours? Pedra uses powerful AI to handle everything from sky replacement and HDR blending to virtual staging, giving your listings the visual edge they need to sell faster. Transform your property photos with a single click at Pedra.so.

Related Posts
3D Photography for Real Estate Guide
Explore our guide to 3D photography for real estate. Learn how immersive virtual tours can attract q...
Effective Copywriting for Real Estate to Sell Homes Fast
Discover expert copywriting for real estate that boosts property sales. Learn tips to craft compelli...
Top Floor Plan Creator Software of 2025 | Design with Ease
Explore the best floor plan creator software of 2025. Find intuitive tools and powerful features to ...