Bathroom Rendering Guide | Step-by-Step Tutorial
Master bathroom rendering with our easy guide. Transform empty spaces into functional and elegant bathrooms.
Why use Pedra's render tools for bathrooms?
Pedra's render tools allow you to visualize a complete bathroom renovation in just seconds, helping potential buyers see the true potential of the space.
Bathroom renovations are one of the most valuable home improvements. Being able to show the potential of an outdated bathroom can make a huge difference in selling second-hand properties.
With Pedra, you no longer need specialized bathroom designers or 3D rendering experts to create compelling bathroom renovation proposals.
How do I create a bathroom render?
Start by uploading clear photos of the existing bathroom you want to transform.
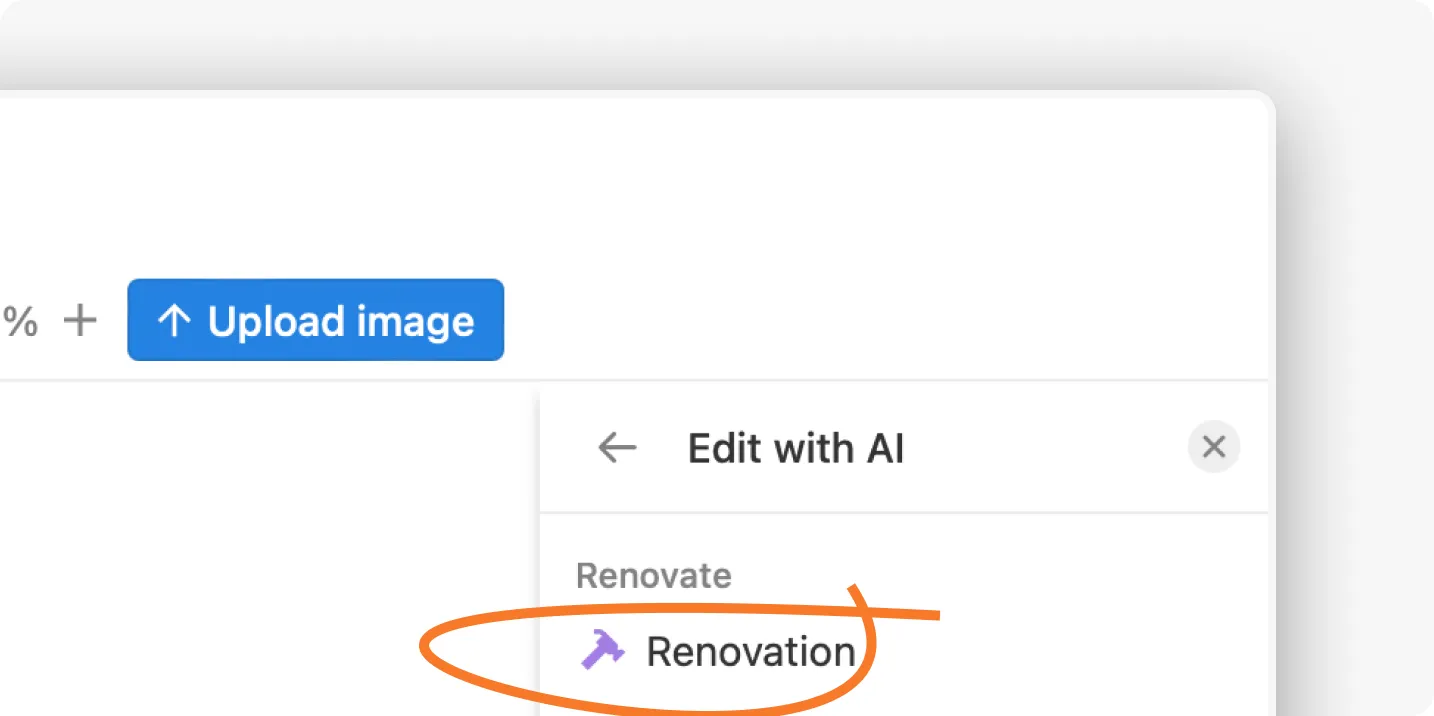
Select your bathroom images and click "Edit with AI", then choose the "Renovation" option.
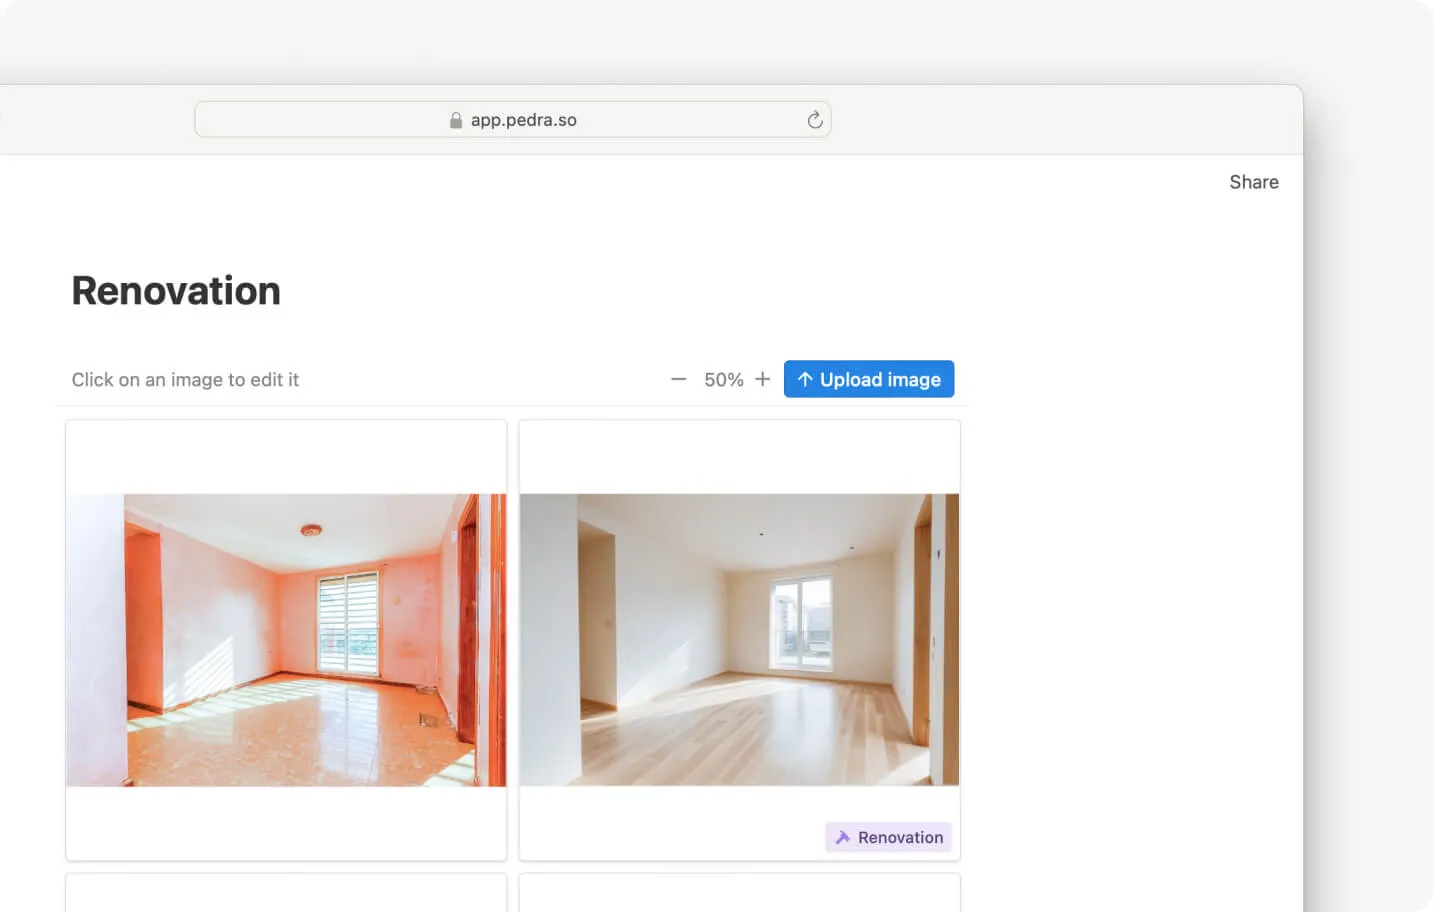
Quick Bathroom Renovation: Generate a Fast Bathroom Render
The "Renovation" tool will transform your bathroom in about 25 seconds.
For a subtle update, choose the "Minimalist" style with "Low" creativity. This will maintain the basic layout while modernizing finishes and fixtures.
Customize Your Bathroom Renovation Render
Pedra offers extensive customization options for bathroom renders.
Choose from various bathroom styles, control how dramatic the changes should be, and decide whether to preserve existing elements like windows or fixtures.
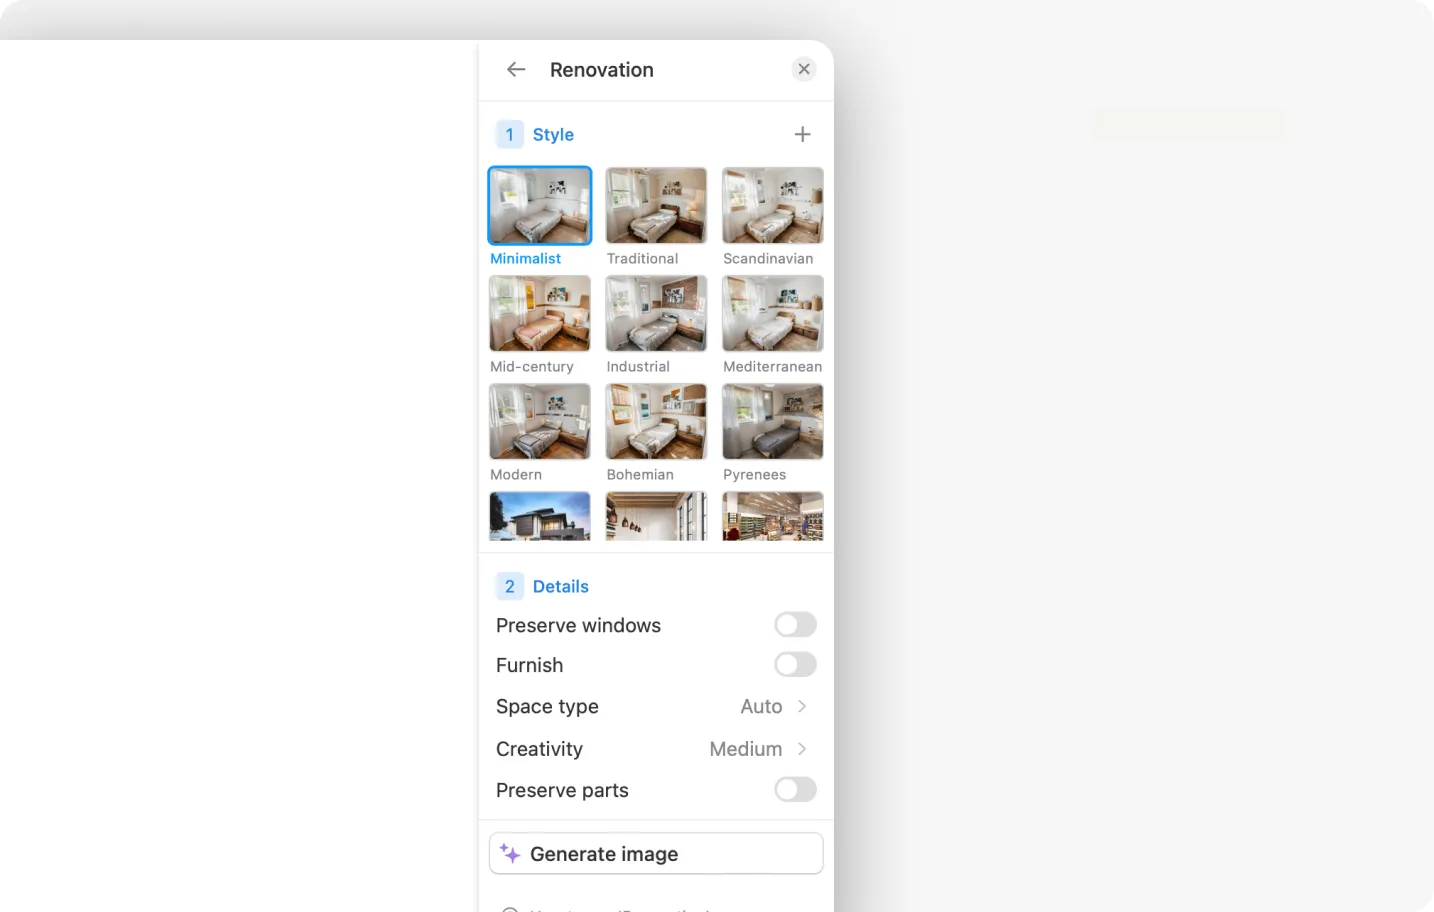
Step 1 – Choose your bathroom style
Select from 9 different bathroom styles including minimalist, traditional, Mediterranean, and more.
You can also upload reference images of bathroom styles you love. This allows you to create renders that match specific design inspiration or your client's preferred aesthetic.
Step 2 – Set the renovation intensity
Choose between Low, Medium, High, and Very High creativity levels for your bathroom transformation.
Low and Medium settings will update finishes and fixtures while keeping the basic bathroom layout intact.
High and Very High settings can completely reimagine the space with new layouts, fixture configurations, and architectural changes.
Step 3 – Preserve key bathroom elements
Choose to preserve windows and plumbing locations, which is particularly important for bathrooms with specific ventilation requirements or plumbing constraints. This ensures your render maintains practical elements while updating the aesthetic.
Step 4 – Generate your bathroom render
After selecting your preferences, generate the bathroom render. Standard renders take about 15 seconds, while preserving specific elements may take slightly longer.
Tips for better bathroom renders
To get the most realistic and useful bathroom renders:
- Generate multiple versions. Each render is unique, and you might find some better preserve important bathroom features like plumbing locations.
- Use low creativity for subtle updates to dated bathrooms.
- Remove reflections from mirrors or glass before rendering. This helps the AI better understand the space and create more accurate transformations.
Bathroom render examples
Here are several examples of bathroom renovations created with our renders:


Related Articles
Bedroom Rendering Guide | Step-by-Step Tutorial
Master bedroom rendering with our easy guide. Transform empty spaces into functional and elegant bed...
House Exterior Rendering Guide | Step-by-Step Tutorial
Master house exterior rendering with our easy guide. Transform your photos into realistic and profes...
Kitchen Rendering Guide | Step-by-Step Tutorial
Master kitchen rendering with our easy guide. Transform empty spaces into functional and elegant kit...